Volkswagen MK4
Volkswagen MK4 Axle Installation
Note: This is for installing the HIGH PERFORMANCE axles only, NOT stock ones.
Tools needed
- Good Impact Gun! This is necessary for removing and installing the 30 mm axle nut. Cheap impact guns will not have enough to remove the factory nuts nor will they have enough to replace the new axle nuts!
- A REALLY good friend who has some clue to what you are attempting!
- 30 mm 12 point socket for removing axle nut
- 10 mm 12 point (Triple Square) male bit for removing OEM axles(See last Picture on page)
- 8 mm 6 point Allen bit for installing New axles
- Several different length extensions for the sockets
- 13 mm socket or wrench for control arm
- 16 mm socket or wrench for sway bar
- 19 mm socket or wrench for removing tie bar ends
- Hammer and Pointed Chisel or to make it Very easy an air Impact Hammer with a pointed tip.
Steps
- On flat level ground, turn car off and put car in Neutral. Engage parking brake and secure rear wheels with blocks to prevent rolling. Lift front end of vehicle and place jack stands under car for support. DO NOT attempt this procedure without jack stands!!!!
- Remove front wheels.
- Remove 30 mm axle nuts.

- Remove 16 mm sway bar bolt from Control Arm on both side of vehicle.

- Swing Sway bar up and back to allow for easy removal of the OEM axles.
- Remove 13 mm bolts under control arm and behind the rotor.

- Remove 19 mm Nut that hold Tie rod ends to Control arms.

- If you are not using an Impact Gun during this procedure, now is a good time to loosen the bolts that hold the axle to the transmission. This is where you will use the 10 mm 12 point (Triple Square) bit. Loosen only DO NOT remove the bolts. Have your buddy hold the rotor so that it does not turn while you are loosening the bolts.
- While pulling out on the rotors hub use the Hammer and pointed chisel on the center of the OEM axle and drive it out of the hub of the rotor. DO NOT at any time during this procedure rotate the rotor, it could damage the wheel bearings. If you have an Air Impact Hammer this makes it SO much easier. While pulling out on the rotor use the gun to push out the axle through.
- Caution: On the right side, the axle may hold the spring in tension.
- Once the axle is pushed through the hub assembly pull the whole rotor assembly back and out of the way. Yes it will be hanging by the strut but that’s okay.
- The OEM axle will now be resting on the Control arm and still attached to the transmission.
- Now use the 10 mm 12 point(Triple Square) bit again and finish removing the 6 bolts that hold the axle to the transmission.

- Pull the OEM axles out through the wheel wells and clean all the old grease out of the transmission flange.
- Install your NEW RAXLES in reverse order!! Be Careful, Make SURE you line up the splines on the end of the Raxles with the splines on your hub.
- NOTE: push down on Control arm when trying to re-insert ball joint. DO NOT try to lift the rotor assembly up.
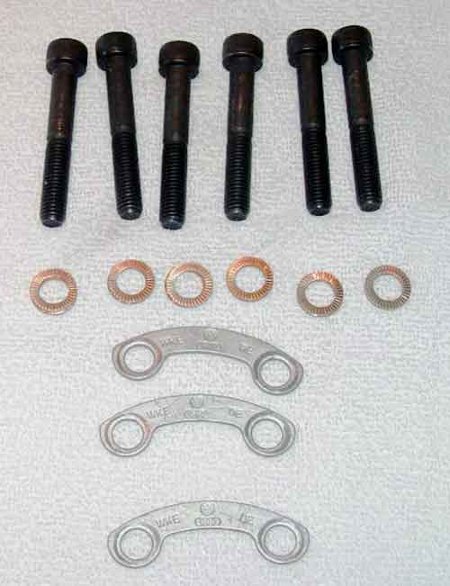

- 6 bolts holding axles to Transmission, 59 ft lbs
- 3 bolts under control arm, 15 ft lbs plus a ¼ turn
- Tie Rod Nut, 33 ft lbs
- Sway bar bolt to Control Arm, 33 ft lbs.
- Avoid extending the axle in an extreme position with suspension at maximum droop
- 30 mm Axle nut, tight as possible until axle nut does not turn anymore. If you have an impact gun its easy if you are using a ratchet, move up to a breaker bar and turn till it stops! Just don’t strip anything or that will cost you even more money!! You should have about 4-5 threads exposed once you are tight. If you read the Bentley Manual it gives Very Good instructions on how to tighten the 30 mm axle nut. Unfortunately most of us can’t do it the way the Bentley describes, the way I am suggesting is the way a VW Tech suggested it be done.
- Please Note: You will need a front-end alignment after installing axles.
Disclaimer: Raxles Inc. nor the author of this “How-To” is responsible for any mistakes or omissions in this write up. Nor is Raxles or the author responsible for any problems, screw-ups, damage, cuts, abrasions, cursing, etc. that may be incurred during the removal and installation of the axles.
